Friday Finish: Washi dress
The last time I was here I mentioned I was off to my first ever Squam Art Workshop. Since that blog post, I did indeed attend Squam AND the Ultimate Handmade Getaway at Maker’s Luck Retreat. I have A LOT to share about these two, which will involve more than one blog post, but first I am excited to talk about the Washi dress I made at Maker’s Luck.

The back
I have wanted to stick my toe further into garment making and knew that the Maker’s Luck retreat would provide an excellent opportunity. Between having excellent garment makers in attendance and the large work area available to trace and cut the pattern, I would be crazy to not give it a go.

I think I need this Reliable iron now ;-))
The amenities and supplies available at Maker’s Luck involve its own post. As someone who doesn’t possess all the necessary dressmaking tools, it was nice to have the pattern tracing paper, pattern weights, pins, huge table, and serger on hand to use. On top of all that, I had plenty of technical advice, support, encouragement, and hand-holding throughout the entire process ;-)) Sometimes, it takes a sewing village!

Eeeek…elastic thread for the shirring
Other than using the serger on all the raw edges first (thanks Karyn), the entire dress was made on my featherweight. I was looking for any excuse to avoid the shirring in the back, but after a reassuring pep talk text from a friend, I was pleasantly surprised to learn she was right: it is easy and fun!

It fits!!! (pic taken before finishing the sleeves and hem)
You want to know the best part about this dress? It. has. pockets.!!!!! The fabric, which is a linen/cotton blend from Carolyn Friedlander’s Polk line, was purchased from I Love Fabric (direct link to fabric used). When I can’t find what I am looking for at my LQS, I like to use I Love Fabric for their quick shipping and great selection. (They didn’t pay me to say that…ha!)

Ta da!!!
The only “change” I made was opting for a sleeveless version. I prefer sleeves, but the cap sleeves didn’t seem worth the extra step. For the hem, I basically used the serged edge as a guide for turning under 1/4” and then another 3/4”. I don’t see a serger in my future, but I can understand how it comes in handy.

Doesn’t everyone hang their dress on a lamp post?!
I didn’t get a decent “after” picture of me wearing my new dress, but this quickly snapped picture by Jacqueline makes me smile. I match our cyanotype group project!
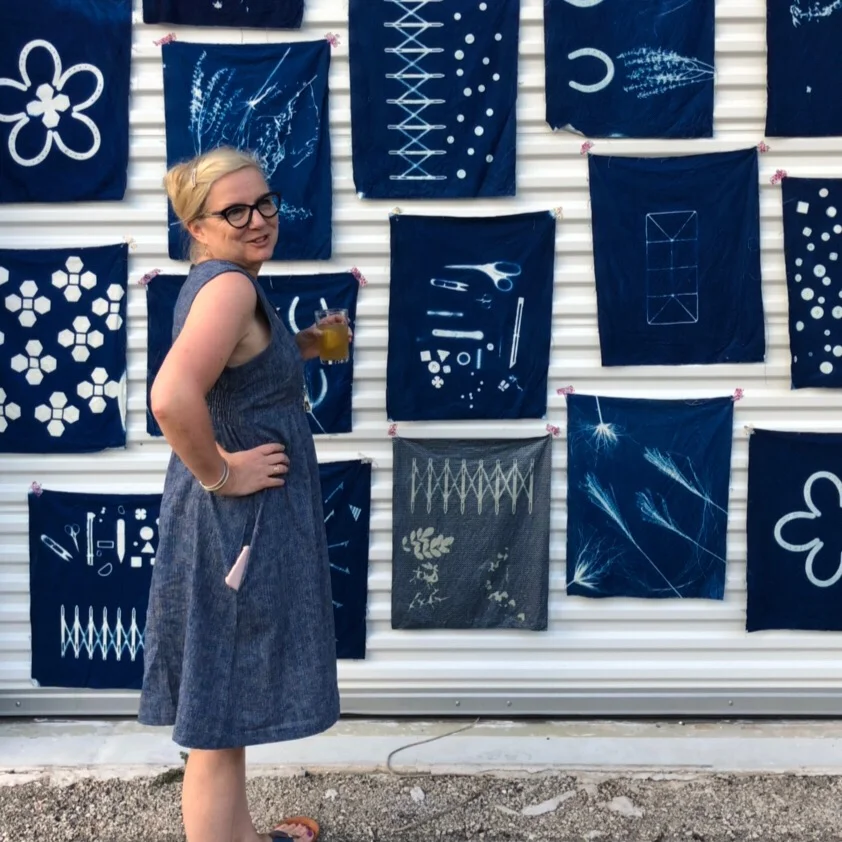
Not the most flattering angle, but I’m happy to have this picture.
I am now contemplating my next garment. Any suggestions?!
Linking up with Crazy Mom Quilts. Thanks for stopping by!
Happy stitching,
